A little background
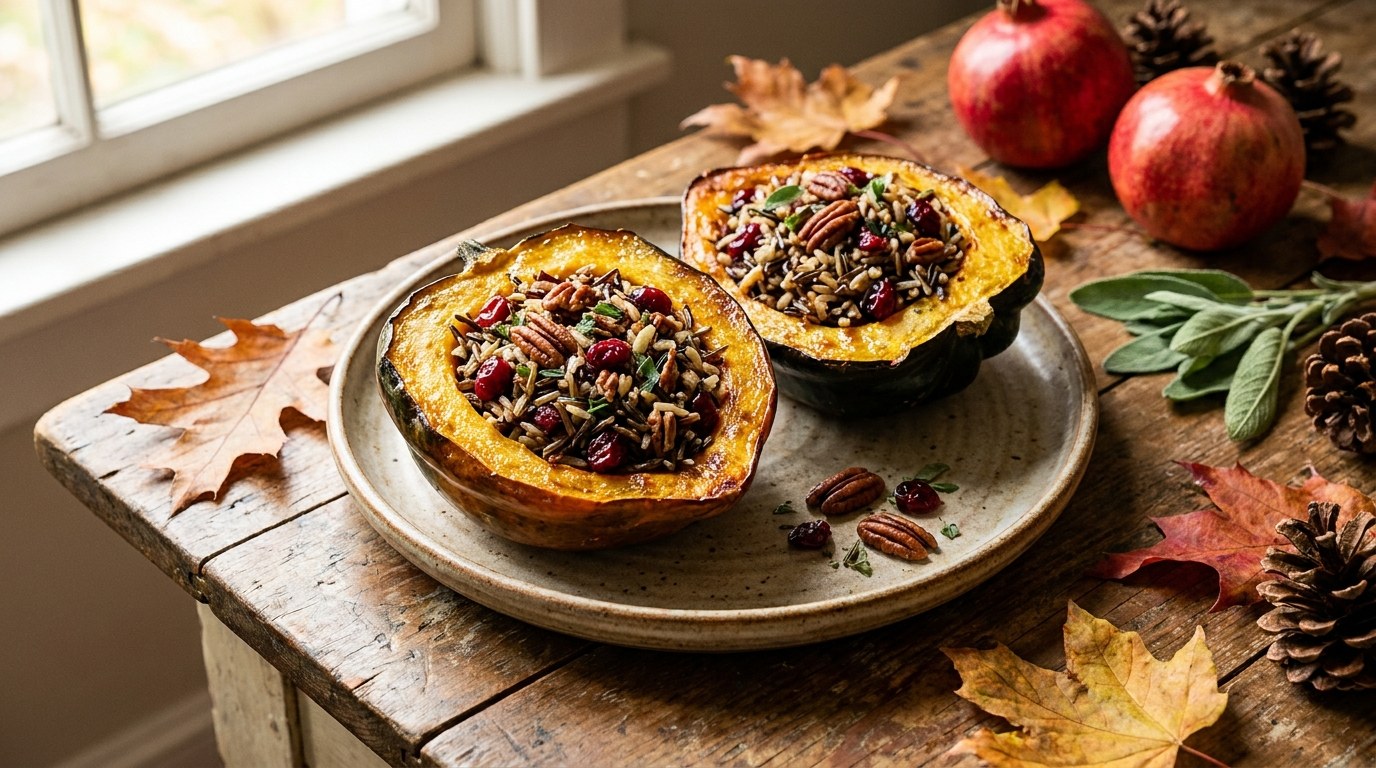
Acorn squash has deep ribs and dense orange flesh. Choosing similarly sized squash makes it easier to cut even wedges, which matters more than making every piece look identical. The modest amount of maple syrup rounds out the smoky paprika without turning the vegetables into a dessert. A broad metal tray gives the cut faces room to caramelize, while the seeds added at the end provide a different kind of crunch.
THE RECIPE
Ingredients for Roasted Acorn Squash
Yield: 4 servings. Measure the ingredients before starting, and keep optional additions separate until needed.
- 2 small acorn squash
- 2 tablespoons olive oil
- 1 tablespoon maple syrup
- 1 teaspoon smoked paprika
- 1/2 teaspoon fine salt
- 1/4 teaspoon black pepper
- 2 tablespoons pumpkin seeds
- 1 tablespoon chopped parsley
Step-by-step instructions
- Heat the oven to 425°F / 220°C. Line a large baking tray with parchment suitable for that temperature.
- Wash and dry the squash. Cut each in half through the stem using a stable board, scoop out the seeds, then cut into wedges about 1 inch thick.
- Whisk the olive oil, maple syrup, paprika, salt, and pepper. Brush the wedges on their cut surfaces and place them in one layer.
- Roast for 25 minutes, turn carefully, and roast for another 10–15 minutes until the edges are browned and a knife slides into the flesh.
- Scatter over the pumpkin seeds and parsley. Let the wedges stand for 5 minutes before serving.
Cooking tips and troubleshooting
Thin tips can brown before the thick centres soften. Keep the widest part of each wedge close to the same thickness, and move small pieces away from the hottest rear corners of the oven. The skin is edible when tender, although leaving it on the plate is a perfectly reasonable preference.
Cut for even cooking
The most useful preparation decision is the size of the pieces. A tray containing very small scraps and large dense chunks is difficult to roast evenly: the scraps can darken while the centres of the larger pieces remain firm. Set aside a few minutes to make the cuts reasonably consistent. They do not need to be identical. Look for a similar thickness at the widest part, and use a stable board with a sharp knife. If a vegetable rolls, create a flat surface before continuing.
Dry surfaces make a difference
Water left on freshly washed vegetables becomes steam in the oven. Dry the pieces with a clean towel before adding the oil and seasoning. Oil should form a thin coating rather than collect in a puddle beneath the vegetables. Toss in a bowl where you can turn every piece, then transfer to the tray. Pouring oil across an already crowded tray often leaves some pieces heavily coated and others dry. The seasoning should be distributed across the cut surfaces as well as the outer skin.
Give the tray room
A single layer with visible gaps allows hot air to circulate and moisture to escape. If the vegetables overlap, they are more likely to soften without developing colour. Use a second tray for a large batch. Two trays may cook at different speeds, so exchange their positions and check both separately. A heavy metal tray usually gives better contact browning than a deep glass dish. Use baking parchment only within its stated temperature limit, and keep it away from exposed heating elements.
Use colour and tenderness together
Browning and tenderness are separate checks. Look underneath a piece for a golden cut face, then test the thickest part with the tip of a knife. A dark surface with a firm centre needs more gentle cooking, while a tender piece that is still pale may need a little more space or time on the tray. Ovens have hot spots, so rotate the tray if one side colours faster. Start checking before the final minute in the suggested range instead of waiting until the entire batch appears overdone.
Finish after the oven
Fresh herbs, lemon juice, and crunchy garnishes usually work best after roasting. Acid poured onto the raw vegetables adds moisture and can reduce browning; a squeeze at the end gives a cleaner, brighter finish. Delicate herbs can scorch at high temperatures, so save them for the plate unless the recipe specifically uses a robust herb during cooking. Taste a cooked piece before adding extra salt. The seasoning becomes more concentrated as water evaporates, and a final garnish may add its own salt or richness.
Make a useful second meal
Roasted vegetables are easiest to reuse when stored without a wet dressing. Add them to a grain bowl, warm them alongside beans, or serve them at room temperature soon after safe refrigeration. For reheating, spread them on a tray rather than piling them into a deep dish. They will become somewhat softer after storage, so aim for a hot, pleasant result rather than expecting the exact first-day crust. Add fresh herbs and lemon after reheating, and keep any crisp seeds separate until serving.
Variations to try
For a savoury version, omit the maple syrup and finish with lemon zest. For a warmer spice profile, replace half the paprika with ground cumin. Add chopped sage before roasting only if you enjoy its strong herbal flavour; parsley gives a fresher and gentler finish.
Serving suggestions
Serve alongside lentils, brown rice, or a crisp cabbage salad. The wedges also work as part of a vegetarian dinner with beans and a spoonful of plain yogurt or a dairy-free alternative.
Storage and leftovers
Refrigerate cooled wedges in a covered container for up to 3 days. Reheat on a tray at 375°F / 190°C until hot; a microwave softens the browned edges.
Planning, ingredients, and portions
Read the ingredient labels
Ingredient names describe a role in the recipe, but packaged products can contain additional seasonings, sweeteners, or allergens. Choose plain versions where the list specifies plain yogurt, purée, tomatoes, or milk. Check broth, sauces, chocolate, bread, and spice blends individually rather than assuming the dish name tells you everything about its ingredients. If cooking for someone with an allergy, ask about their requirements and prevent cross-contact with utensils and surfaces. A vegetarian recipe can still contain milk, eggs, wheat, soy, sesame, or nuts. The suggested variations are flavour and cooking options, not a guarantee that every product on your shelf fits a particular diet.
Scale ingredients without scaling every minute
For a smaller batch, reduce the ingredient quantities proportionally and choose equipment that still allows the intended depth or space. For a larger batch, doubling ingredients does not always mean using one larger pan or doubling the cooking time. Crowding, depth, and evaporation change how the food cooks. Work in batches where the method depends on browning or handling individual portions. Keep the doneness checks in the instructions as your final guide. Divide leftovers into useful portions rather than reheating the entire batch repeatedly. If a recipe includes a small quantity of salt or a strong spice, start conservatively and taste before making the final adjustment.
Understand the estimated nutrition
The nutrition figures below are rough editorial estimates per stated serving of the base recipe. They are not laboratory results and should not be treated as precise dietary advice. Brands, portion sizes, optional garnishes, ingredient substitutions, and how much cooking fat remains in the dish can all change the result. The figures cover calories, protein, carbohydrate, and fat; they do not provide a complete micronutrient or sodium analysis. If you need accurate values for a medical or carefully controlled dietary plan, calculate the recipe using the specific products and quantities you actually use, then divide by the measured number of portions.
Plan the meal around the recipe
Consider what this recipe already contributes before choosing a side. A vegetable side may need beans, grains, eggs, or another suitable component to make a satisfying meal, while a substantial pasta, bean bowl, or filled wrap may need only fresh vegetables alongside. Sweet bakes are portions of dessert or baking rather than a complete meal simply because they include fruit or vegetables. Appetite and individual needs vary, so the stated yield is a practical way to divide the batch, not a rule about how much every person must eat. The serving suggestions below are intended to help you build a meal with contrasting textures and flavours.
Nutrition information
Approximate nutrition per serving of the base recipe; optional toppings and substitutions are excluded. These figures are editorial estimates, not a verified analysis.
- Energy
- 190 kcal
- Protein
- 4 g
- Carbohydrate
- 28 g
- Fat
- 8 g
Frequently asked questions
How do I know roasted acorn squash is ready?
The target is tender centres, browned cut faces, and lightly crisp pumpkin seeds. Use that description alongside the specific checks in the final cooking or assembly step. The suggested 50 minutes is a guide for active preparation and cooking, and it does not override the visible or texture cues. Ingredient sizes and equipment can change the timing. Check a representative portion rather than assuming the first piece you see represents the whole batch.
Can I prepare this recipe ahead?
Refrigerate cooled wedges in a covered container for up to 3 days. Reheat on a tray at 375°F / 190°C until hot; a microwave softens the browned edges. Prepare any durable ingredients first and keep delicate finishing ingredients separate where practical. When planning ahead, allow time for the final cooking, reheating, or assembly rather than assuming the dish can sit at room temperature until the meal. Food should be stored in a clean covered container, and fresh toppings should be added close to serving.
What should I change if the texture is wrong?
Thin tips can brown before the thick centres soften. Keep the widest part of each wedge close to the same thickness, and move small pieces away from the hottest rear corners of the oven. The skin is edible when tender, although leaving it on the plate is a perfectly reasonable preference. Review ingredient quantities and the stage at which the texture changed before adding several new ingredients. A small correction is easier to assess than a large one. If extra liquid is suitable, add it gradually; if more cooking is required, continue gently and check again. The technique notes above explain the main controls for this type of recipe.
Can I change the ingredients for my diet?
For a savoury version, omit the maple syrup and finish with lemon zest. For a warmer spice profile, replace half the paprika with ground cumin. Add chopped sage before roasting only if you enjoy its strong herbal flavour; parsley gives a fresher and gentler finish. Read labels for the exact products you use, including toppings and sides. One substitution does not automatically remove all allergens. Keep the core quantities stable and choose one suggested change for a first attempt.
Bring it to the table
Roasted Acorn Squash works best when you focus on its main ingredients and the texture described here: tender centres, browned cut faces, and lightly crisp pumpkin seeds. Prepare the components in order, taste where appropriate, and choose a simple accompaniment rather than adding unnecessary complexity. Serve alongside lentils, brown rice, or a crisp cabbage salad. The wedges also work as part of a vegetarian dinner with beans and a spoonful of plain yogurt or a dairy-free alternative. Keep a note of the timing and seasoning that suited your equipment so your next batch is easier to plan.